
The Google Ads Conversion API allows TickX to send web events directly to Google Ads, which can be used in the same way as browser pixel events. This means that events can be tracked and used in measurement, reporting and optimisation, even when they would otherwise be blocked due to cross channel tracking challenges or cookie blockers.
Any events that have also been fired by the browser pixel are de-duped by Google Ads, but using the Google Ads Conversions API gives advertisers and agencies a belt and braces approach to Google Ad tracking.
To understand more about the advantages of server side tracking and conversion APIs you can read our guide here.
To set up Conversion APIs for other ad platforms find our step by step guides here.
Set-Up-
Configure Google tag settings. For enhanced conversions with leads, you’ll need to adjust the Google tag:
-
Open the Google tag settings.
-
In the Google tag settings, click Manage automatic event detection. Enable automatic collection for 'Form interactions'.
-
Close the menu.
-
- Create a new conversion action
Note: 'Type' needs to be upload clicks for server side conversions, if the conversion event is anything else then it will cause failures e.g. 'Type' website
Step 1 — Open conversions
- Log into Google Ads
- Top menu: Goals
- ClickConversions
- ClickSummary
Step 2 — Create a new action (if you don’t already, please upload one)
- Click+ New conversion action
- ChooseImport(not “Website”)
- ChooseTrack conversions from clicks
- Wording may be “Import from clicks” or similar
- This is theUpload clickstype
- Name it clearly, e.g.
Purchase - TickX - Category:Purchase
- Save / finish setup
- Make sure status isEnabled(not Inactive)
Step 3 — Accept data terms (one-time)
Still under Goals → Conversions:
- ClickSettings(conversion settings)
- FindCustomer data terms/ data processing terms
- Accept them
Without this, email/phone matching can fail.
Step 4 — Turn on auto-tagging (for ad click tracking)
- Admin(gear icon) →Account settings
- EnableAuto-tagging
This helps Google pass click IDs (gclid) so ad-attributed sales can be linked
-
-
In your Google Ads account, click the Goals icon Goals icon.
-
Click the Conversions drop-down in the section menu.
-
Click Settings.
-
Next to 'Customer data terms', select View Terms and review the 'Policies and Additional Terms for Customer Data'.
-
Tick the 'I have read and accept the terms on behalf of my company' box.
-
Click Agree. You’ll notice that your status is updated to 'Accepted'.
-
- Go to Integration Hub > Google Ads Conversion API
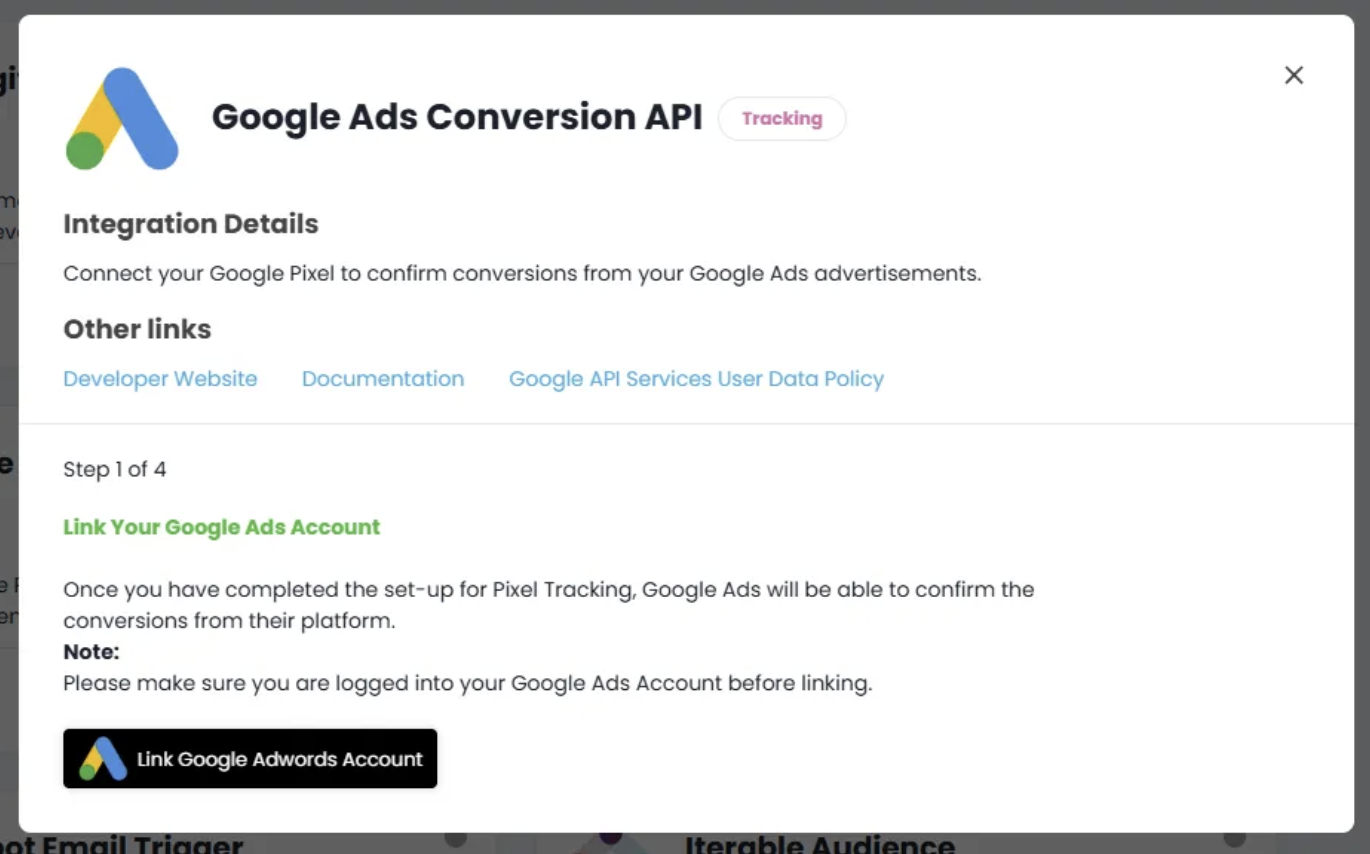
5. Follow the steps to link your Google Ads Account (ensure you accept all of the terms/access)
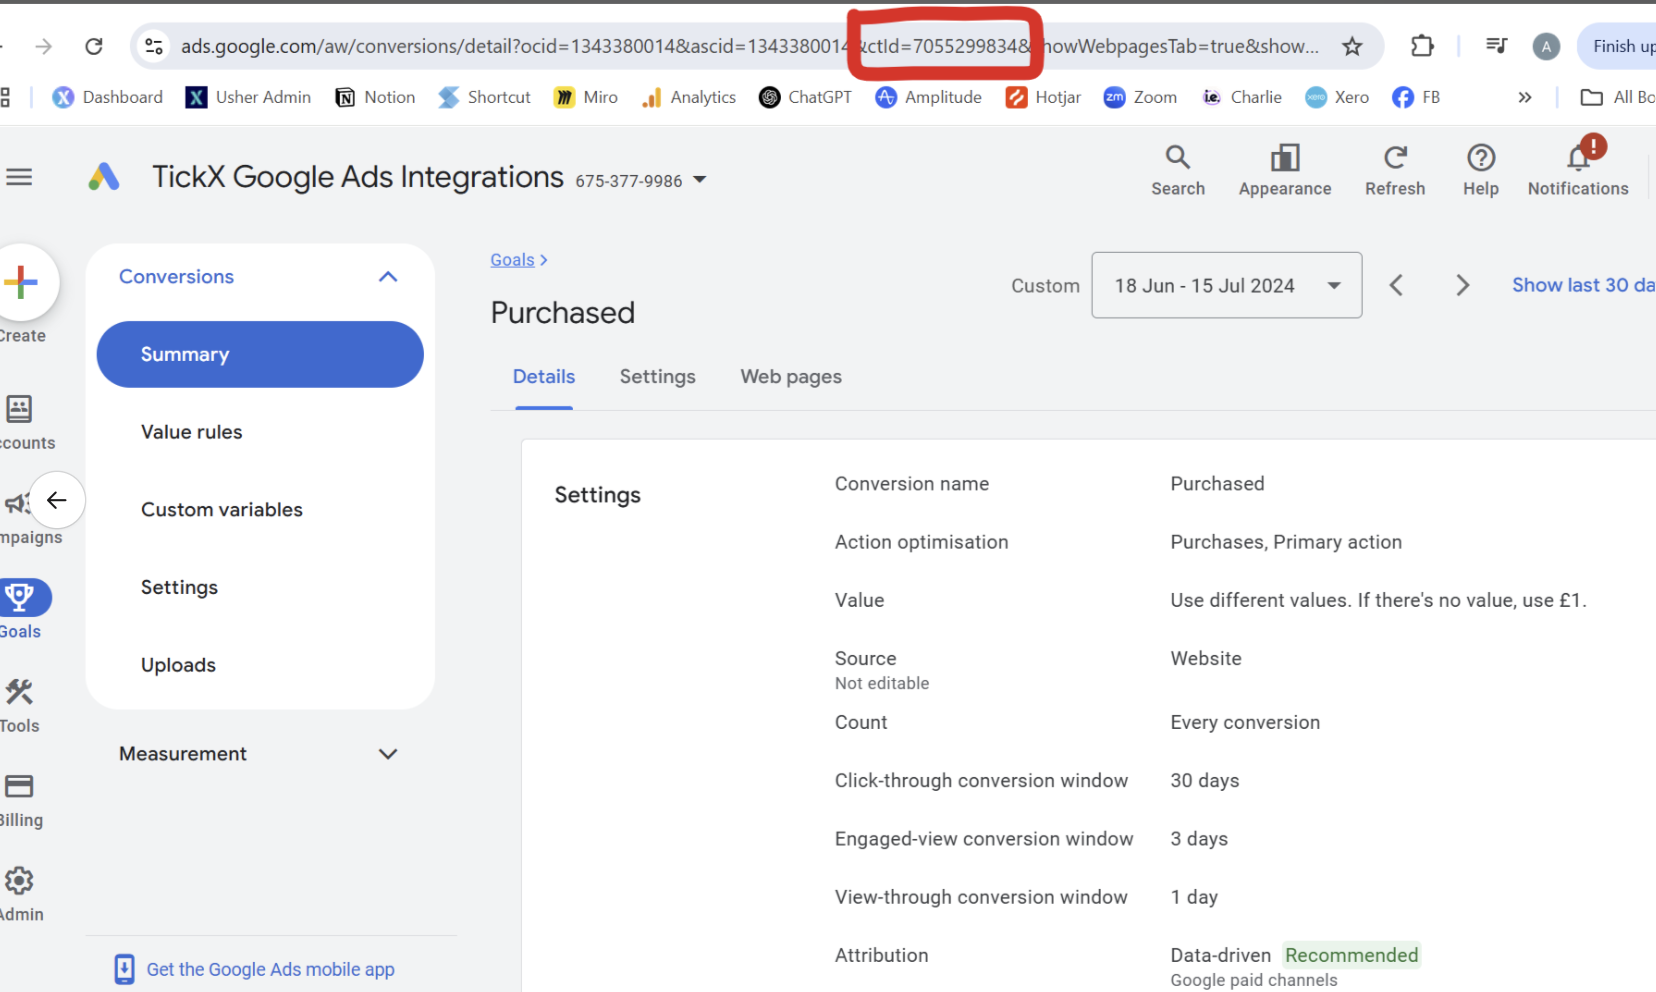
6. When adding in your Conversion Action we require the Conversion API CTID Ref - this can be found within the URL of your conversion action in Google Ads
In Google Ads, the consistent property used to prevent duplication between the Google Tag (client-side pixel) and the Google Ads API (server-side conversion tracking) is the gclid (Google Click Identifier) or order_id (Transaction ID for eCommerce conversions).
Data Triggered in the Conversion API
Here is a list of all of the data sent through within the Conversion API event:
Customer Information:
- Hashed email address
- Google click ID (gclid)
Purchase Details:
- Order amount and currency
- Order ID/reference number
- Purchase date and time