This guide explains how to set up the Dotdigital Email Trigger integration in TickX IQ so you can automate pre-event, post-event, and other event-based communications. It walks you through creating an API user in Dotdigital, selecting the correct API region, configuring sender details, and enabling the integration. You’ll learn how to build triggered email campaigns in Dotdigital, add required merge fields, set timing rules, apply advanced segmentation options, and test campaigns before activation. Once enabled, TickX IQ triggers your Dotdigital emails automatically whenever customer events match the criteria you’ve defined.
Keep reading to learn how to set-up your Dotdigital Integration so you can trigger event based emails. You can find out more about email triggers here.
Note: Before you get started you need ensure that your from email is approved and authenticated; Verify DNS Records. Also, that you have transactional emails enabled within your Dotdigital platform; Transactional Email Dotdigital Guide.
- Go to Integrations Hub > Messaging > Dotdigital Email Trigger> Add Details
- Add Integration Setting Details
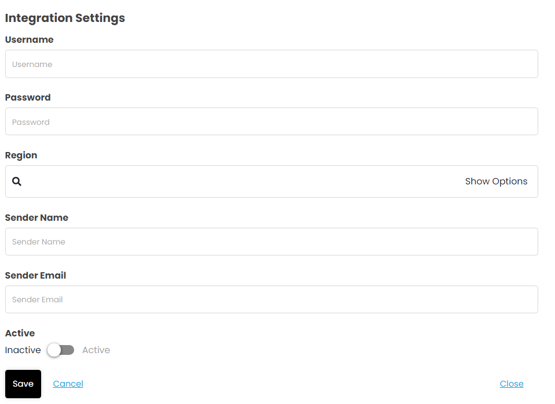
- Add Username
- Login to Dotdigital
- Go to Access > API Users
- Add New User
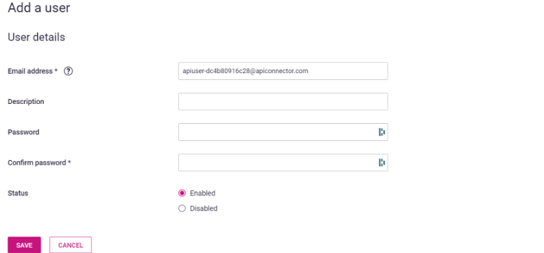
- Copy Email Address → add this into Username field in TickX IQ
- Enter Password
- Whilst following the above steps you will need to create & confirm a password
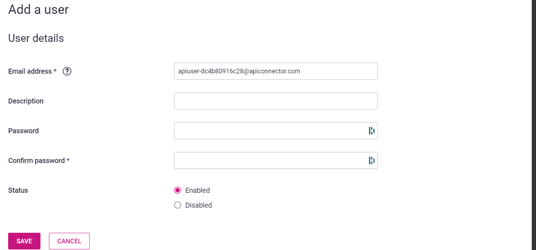
- The password you create in Dotdigital → add this into the Password field in TickX IQ
- Whilst following the above steps you will need to create & confirm a password
- Select API Region Key
- Go to Access > API Users
- See your API region - example is R2

- Select your API Region Key to match the information within Dotdigital
- Add Sender Name - This is the 'From Name' you would like your emails to come from
- Add Sender Email - This is the 'From Email' you would like your emails to come from
- Toggled Active On - Save. Your Integration is now set-up.
- Add New Email
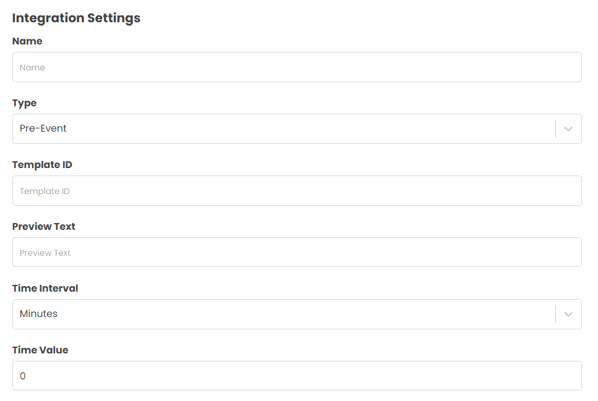
- Add your email name - as you can have multiple email triggers set-up this is a way to differentiate the email trigger list. E.g. Know Before You Go
- Select Type > This is to determine after which event type you would like your email to trigger. E.g. Pre-Event
- Add Template ID
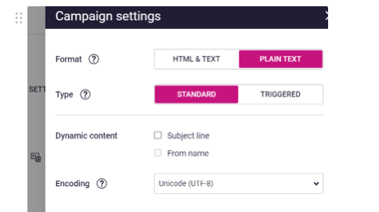
- Go to Email > Email Campaigns > New Campaign
- Follow the steps to create a new campaign. Within the settings the campaign must be set to ‘Triggered’ to allow for the TickX CRM Triggers to work.
-
All Campaigns must include an ‘Unsubscribe’ link within them.
Dotdigital has a sensitive template builder so please make sure you follow the rules when setting this up; Designing a Template in Dotdigital - We have some additional merge fields which can be added to your templates to provide some individualised information to your customers.
- @FNAME@
- @LNAME@
- @MC_PREVIEW_TEXT@
- You need to add some code into the template within Dotdigital; Preview Text
- Then as part of your Pre-Header add in the merge field @MC_PREVIEW_TEXT@ then you can make any edits to the content within the Dashboard and this will be merged in.
- @BOOKING_DATE@
- @BOOKING_NAME@
- @BOOKING_VENUE@
- @TICKET_TYPES@
- @RESTAURANT_RESERVATION@
- @ORDER_SUMMARY@
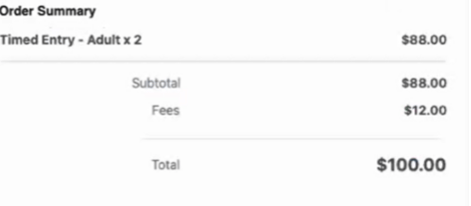
- @ORDER_SUMMARY_RAW@
- @MANAGE_ORDER_URL@
- @SINGLE_USE_DISCOUNT_CODE@
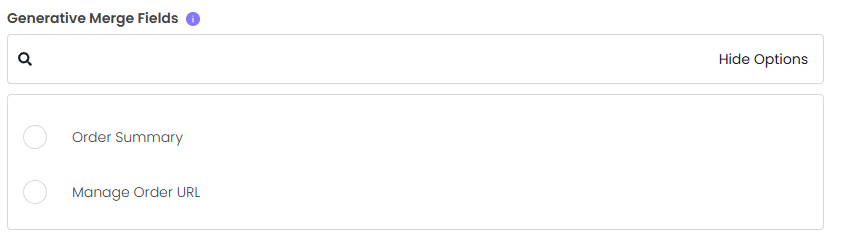
- If you are using the Generative Merge fields within your content then please make sure you select these within TickX on set-up (speak to your account managers to ensure you have these set-up to function).
- Add Preview Text
- Add Time Interval - Minutes or Hours
- Add Time Value (Numeric) This is how many minutes/hours you would like to trigger the email either before/after the Event Type.
- Advanced Options
- You can segment who receives certain content based upon our Advanced Options
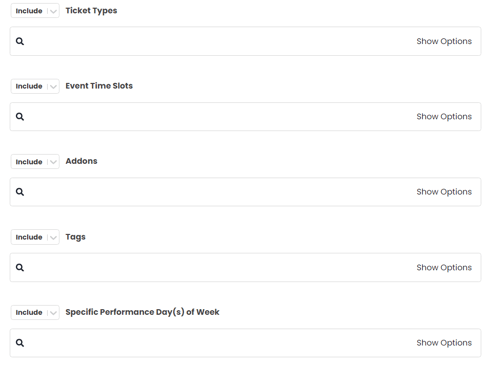
- For example; you might have different Know Before You Go content to send customers attending Mid-Week from those attending at the Weekend. These advanced options allow you to trigger more specified content to your attendees.
- You can segment who receives certain content based upon our Advanced Options
- If you want to send a test before toggling to Active > Save > Go to Actions > Send Test Email
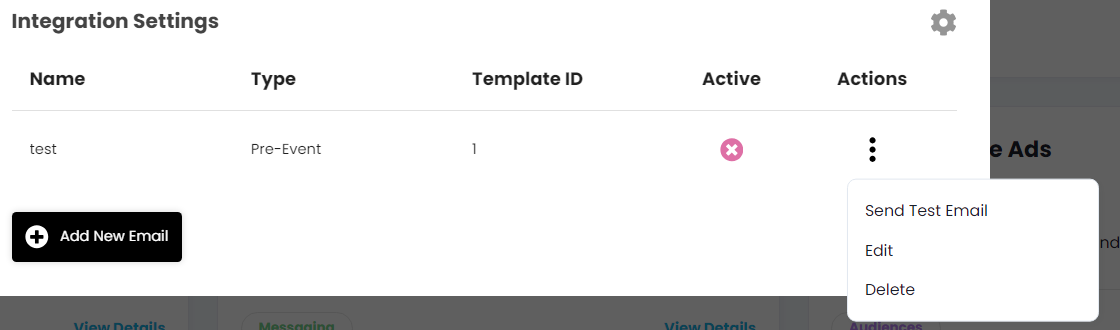
- Enter the email you would like to send the test to
- If the email is set-up correctly you will get a copy of the email in your inbox
- If there are any issues you will receive a TickX email highlighting the error
- Once you are happy > Go to Actions > Edit > Toggle Active On > Your email will now start triggering once the criteria is met.